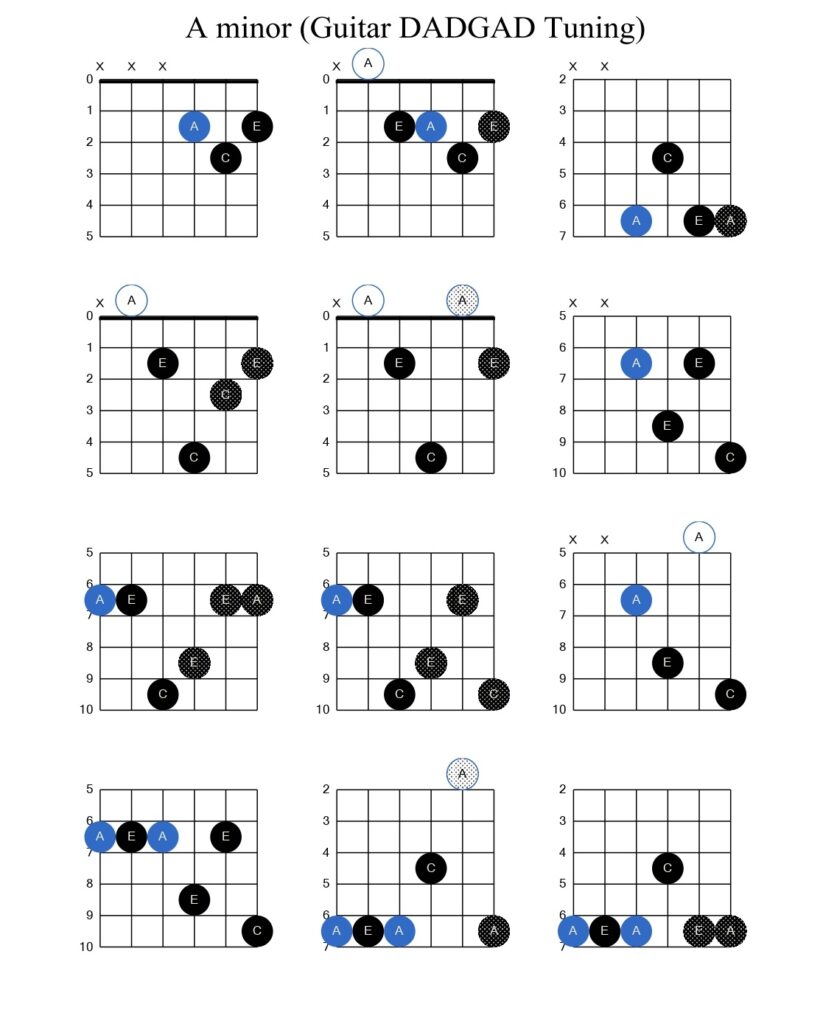
Introduction: The guitar is a versatile and popular instrument that has captured the hearts of music enthusiasts all around the world. If you’re just starting your journey as a guitarist, learning basic chords is a fundamental step in becoming proficient at playing songs. Among these chords, the A minor chord is a fantastic place to begin. In this blog post, we will guide you through the process of playing the A minor chord on the guitar, including various finger positions, some practical tips, and a simple chord progression to get you started. So, grab your guitar, let’s tune up, and get ready to play!
How to Play an A Minor Chord on Guitar
- Understanding the A Minor Chord: Before we delve into playing the A minor chord, it’s essential to understand its construction. The A minor chord consists of three notes: A, C, and E. These notes form a harmonic triad that creates a pleasant and melancholic sound, often associated with emotional ballads and soulful tunes.

- Finger Position – Version 1: To play the A minor chord, follow these steps: a. Place your index finger on the first fret of the second (B) string. b. Press down the second (B) string just behind the fret, ensuring a clean and clear sound. c. Now, place your middle finger on the second fret of the fourth (D) string. d. Press down the fourth (D) string firmly, making sure it rings out clearly. e. Lastly, put your ring finger on the second fret of the third (G) string. f. Strum all the strings from the fifth (A) string down to the first (high E) string, and you’ve got yourself an A minor chord!
- Finger Position – Version 2: If you find the first version a bit challenging, don’t worry; there’s an alternative fingering: a. Place your index finger on the first fret of the third (G) string. b. Press down the third (G) string, ensuring it rings out cleanly. c. Next, position your middle finger on the second fret of the fourth (D) string. d. Press down the fourth (D) string firmly, allowing it to ring out clearly. e. Now, place your ring finger on the second fret of the second (B) string. f. Strum from the fifth (A) string to the first (high E) string, and there you have another A minor chord!
- Common Challenges and Tips: a. Buzzing or muted strings: Make sure your fingers are pressing down the strings firmly and directly behind the frets. b. Strumming clarity: Focus on strumming from the fifth (A) string to the first (high E) string, avoiding hitting unwanted strings. c. Finger dexterity: Regular practice and patience will improve your finger strength and agility over time.
- A Minor Chord Progression: Now that you’ve mastered the A minor chord, let’s try a simple chord progression: Am – G – C – G. This pattern is common in many songs and is an excellent exercise for transitioning between chords.
Conclusion: Learning the A minor chord is a significant milestone for any beginner guitarist. It sets the foundation for playing countless songs and allows you to explore a range of emotions through music. Remember, practice and patience are key to mastering any skill, so keep strumming and enjoy the process. As you progress, you’ll be amazed at the beautiful melodies you can create with just a few chords on your guitar. Happy playing!
2 thoughts on “How to Play A Minor on Guitar: A Beginner’s Guide”